
How to Filter Water While Camping: Field Method
Pick a clean source, clear the silt, treat with boil / filter / drops, then keep clean water clean.
On this page
- What you are actually treating for
- Step 1 — Pick the cleanest source…
- Step 2 — Get the silt out before…
- Step 3 — Pick one main method (an…
- Step 4 — Keep clean water clean
- Step 5 — Maintain the filter so i…
- Reading water sources by terrain
- Common mistakes worth avoiding
- Field checklist
- Which setup fits your trip
- How to filter water while camping &mdas…
car campers and backpackers who need a clear sequence for backcountry water treatment — source, sediment, method, and storage — before they buy gear.
pick a system in our
camping water filter buyer guide,
then narrow by style with the
gravity filter,
pump filter, or
virus purifier guides.
Clear water tells you nothing about what is living in it. A stream can run cold and look perfect and still carry Giardia from an elk that crossed it a mile upstream. Treating water is not optional in the backcountry, and it is not complicated either — it is four decisions you make the same way every time: where to collect, how to clear the silt, which method to use, and how to keep the clean water from touching the dirty gear.
This guide walks the whole sequence, including the parts people skip. If you already know the process and just want gear, jump to our camping water filter buyer guide.
What you are actually treating for
Matching the method to the threat is the whole game. Four categories matter:
- Protozoa — Giardia and Cryptosporidium. Big enough for any filter to catch. Crypto shrugs off iodine and needs about four hours with chlorine dioxide, so filtering or boiling is the better answer.
- Bacteria — E. coli, Campylobacter, Salmonella. Removed by 0.1–0.2 micron filters and killed by boiling, drops, and UV.
- Viruses — norovirus, hepatitis A, rotavirus. Small enough to slip through a standard hollow-fiber filter. Rare in remote North American headwaters, more of a concern near heavy human traffic, farmland, and outside the US and Canada. That is the case for a virus-rated purifier.
- Silt, tannins, and chemicals — not a health risk in most backcountry water, but sediment ruins filters and taste. Activated carbon helps with taste and some chemicals. Nothing portable reliably removes mine tailings or agricultural runoff, which is why source choice comes first.
For most trips in the US and Canada, a filter rated for bacteria and protozoa is enough. Add virus protection when you are traveling internationally or drawing water below towns, campgrounds, or grazing land.
Step 1 — Pick the cleanest source you can reach
No treatment method fixes a bad source. Before you dip a bottle, look upstream: a dead animal, a stock pond, a pit toilet, or a busy campsite thirty yards up changes everything. Then rank what you have:
- Best: Springs coming straight out of rock, and fast-moving streams above any trail or camp.
- Good: Rivers at the head of a riffle, or the inlet side of an alpine lake where water is turning over.
- Workable: Lakes and slow pools. Draw a few inches below the surface and away from the muddy bottom, then settle or pre-filter.
- Last resort: Cattle tanks, desert seeps, and shallow puddles. Treat them, and expect to sacrifice some filter life.
- Skip: Stagnant green water, anything downstream of a mine or feedlot, and water with an oily sheen or chemical smell. Walk farther instead.
Two habits are worth building. Collect upstream of where people wash dishes and swim, even if that means walking a couple hundred feet. And on dry stretches, top off at every reliable source rather than gambling that the next one on the map still has water in late season.
Step 2 — Get the silt out before you treat
Sediment is what kills filters. It packs into the fibers, flow slows to a trickle, and no amount of backflushing brings it all back. Cloudy water also gives chemical treatment and UV light something to hide behind, which cuts their effectiveness.
Three ways to clear it, in order of how much time you have:
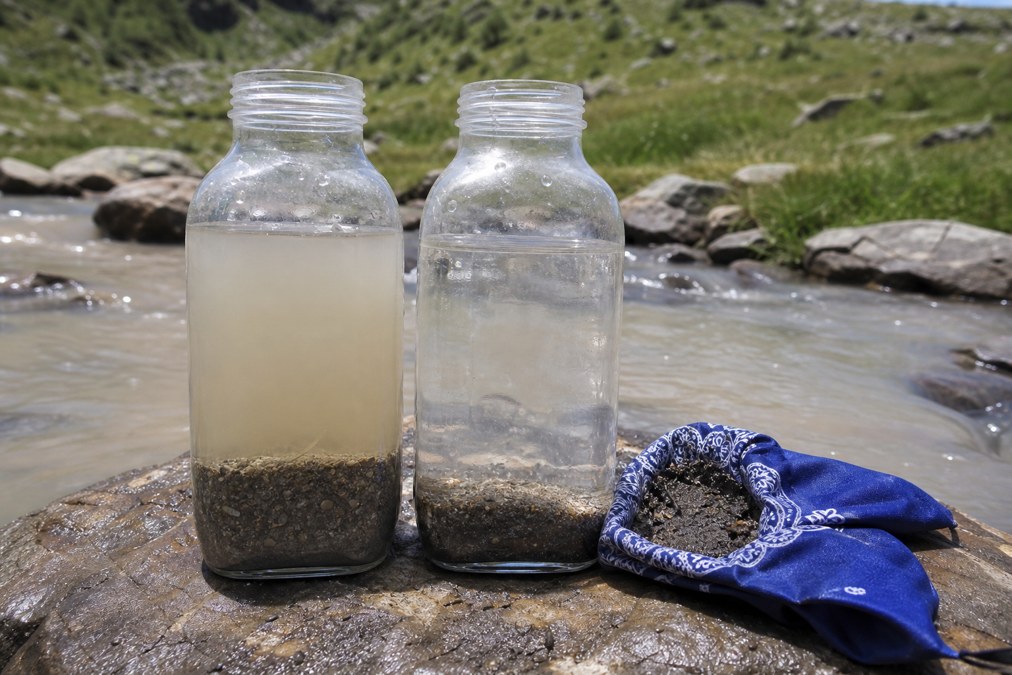
- Scoop smart. Fill from the current, not the bottom. Sinking a wide-mouth bottle sideways picks up far less grit than scraping a bag through the shallows.
- Strain it. Pour through a bandana, coffee filter, or the mesh pre-filter that came with your pump. Cheap, fast, and it visibly changes what comes out.
- Let it settle. Fill a container, leave it 20–30 minutes, then pour off the clear top and dump the sludge. This is the move for glacial melt, desert washes, and any source right after rain.
Snowmelt in particular looks clean and is loaded with fine rock flour. Settle it before it ever touches a filter.
Step 3 — Pick one main method (and one backup)
Run one primary method you trust and carry a lightweight fallback for the day your filter clogs, freezes, or gets left on a rock. Here is how the options compare:
| Method | Handles | Time per liter | Best for | Watch out for |
|---|---|---|---|---|
| Boiling | Everything biological | 5–10 min plus cooling | Cold weather, cooking water, zero-gear backup | Fuel use; does not clear silt or taste |
| Squeeze / inline filter | Bacteria, protozoa | 1–2 min | Solo backpacking, fast trail refills | No virus protection; ruined by freezing |
| Gravity filter | Bacteria, protozoa | Hands-off, ~2–4 L in minutes | Groups, families, base camp | Needs a hang point and deep enough water to fill the bag |
| Pump filter | Bacteria, protozoa | 1–2 min of pumping | Shallow seeps, canoe trips, silty sources | Heavier; moving parts and hoses to keep clean |
| Chlorine dioxide drops or tablets | Bacteria, viruses, protozoa | 30 min — up to 4 hr for Crypto | Backup, ultralight kits, freezing nights | Slow; slight taste; needs clear water to work well |
| Purifier bottle (press or squeeze) | Bacteria, viruses, protozoa | Under a minute | International travel, front-country and suspect sources | Heavier than a squeeze filter; small batch size |
| UV pen | Bacteria, viruses, protozoa | 60–90 sec | Clear water, short trips, taste-sensitive drinkers | Batteries; useless in cloudy water; leaves silt behind |
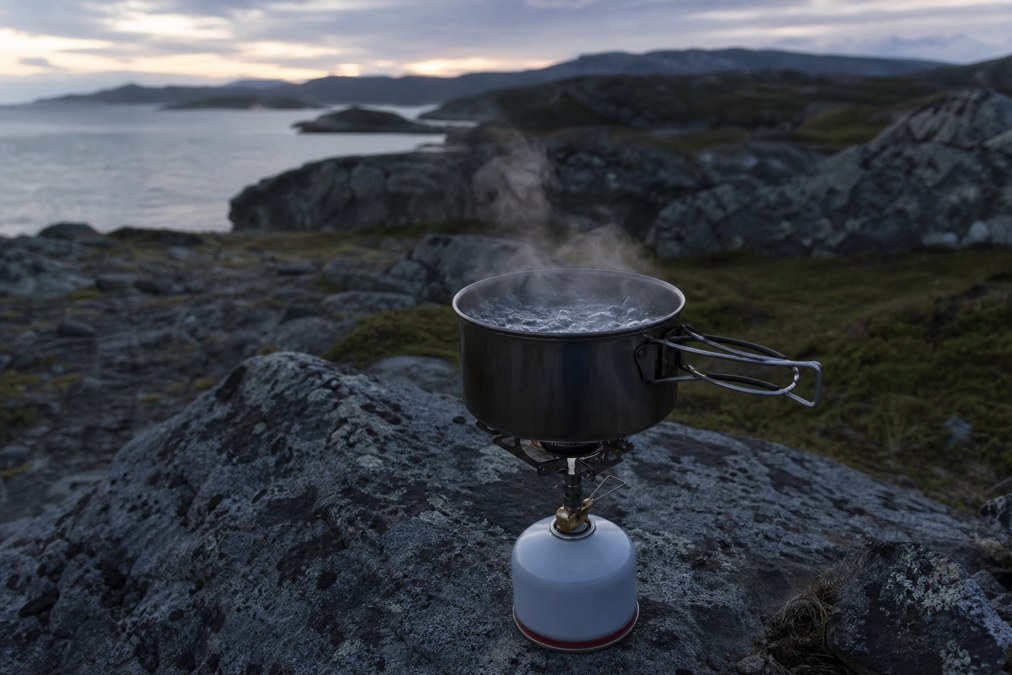
Boiling
Bring the water to a rolling boil and hold it there for one minute — three minutes above roughly 6,500 feet, where water boils cooler. That is the whole procedure, and it kills everything biological, including the viruses a hollow-fiber filter misses. The costs are fuel and time: you still need to wait for it to cool, and boiling does nothing about silt or taste. It shines as the cold-weather answer, when a wet filter would freeze anyway, and as the method that always works when gear fails.
Filters (squeeze, gravity, pump)
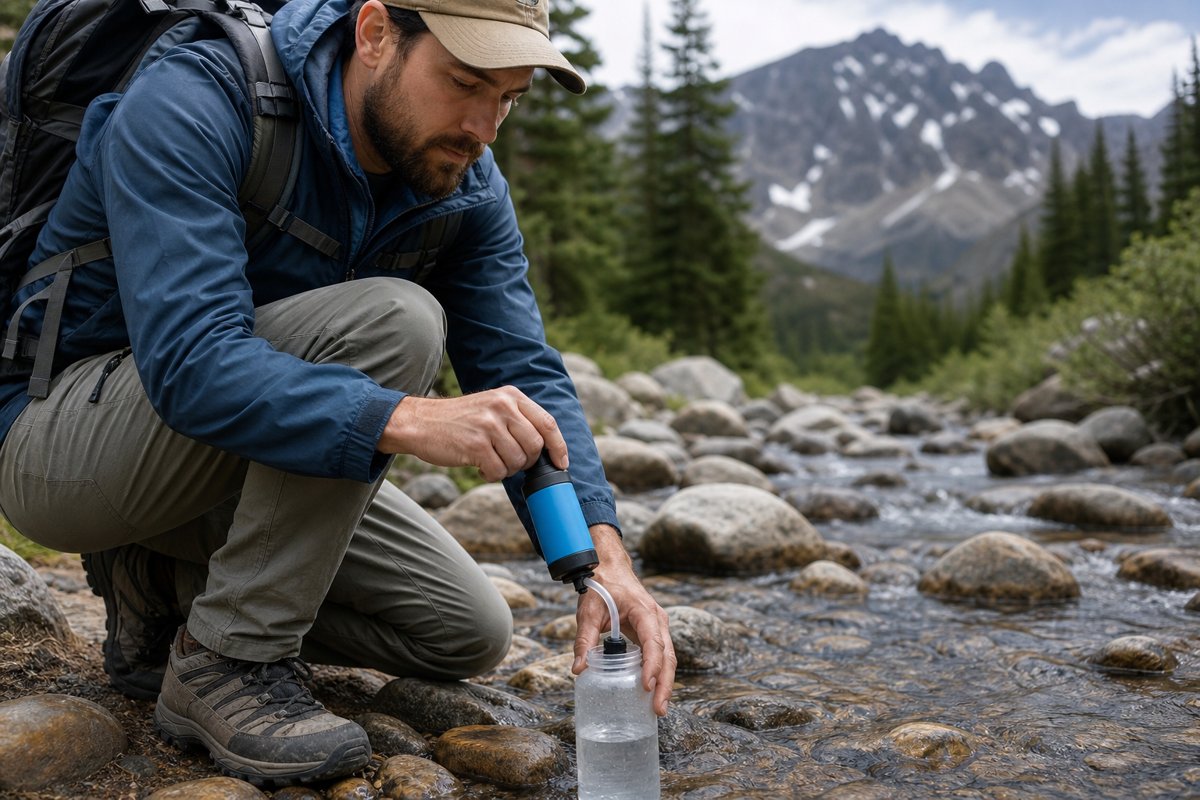
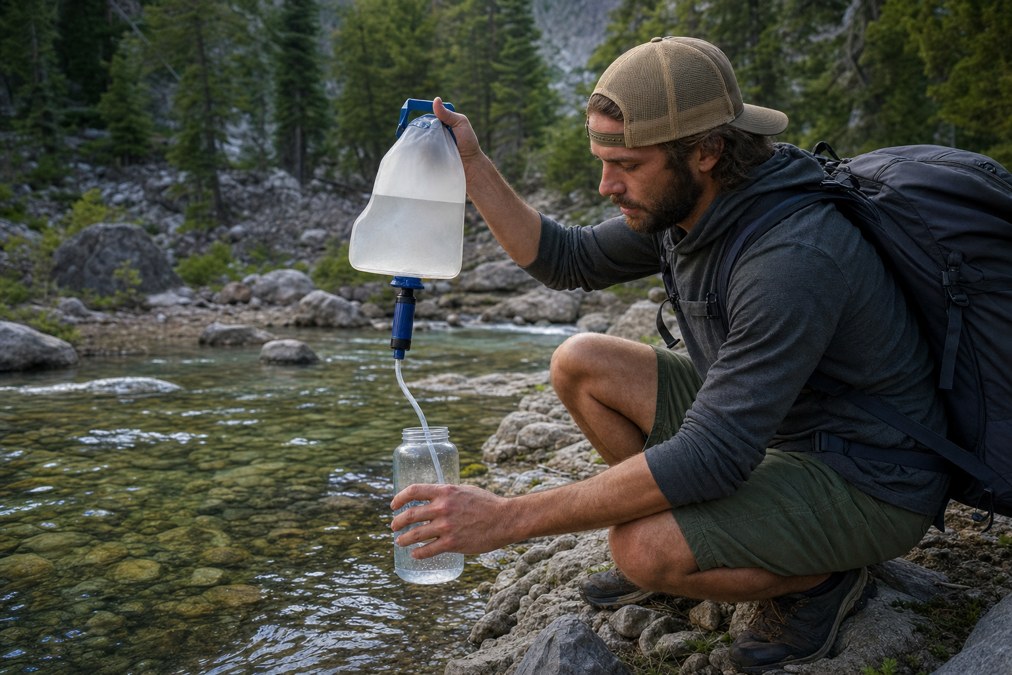
Hollow-fiber and ceramic filters physically strain out bacteria and protozoa at 0.1–0.2 microns, with no wait and no aftertaste. Which style you carry depends on how you camp rather than which is “best.”
- Squeeze or inline: the default for solo hikers. Light, drinkable on the move, refills in about a minute.
- Gravity: best when you need volume without standing over it — hang the dirty bag and set up camp while it fills. See our gravity water filter guide for flow rates and bag durability.
- Pump: the one that works at sources where the others do not, like an inch-deep seep or a shoreline you cannot dip a bag into. Our pump filter comparison covers cartridge life and field maintenance.
The shared blind spot: standard filters do not stop viruses. The shared failure mode: freezing. One night below 32°F with water still inside the fibers can crack them invisibly, and the filter will keep flowing while passing everything through.
Chemical treatment
Chlorine dioxide drops and tablets weigh almost nothing and handle viruses, which makes them the ideal backup rather than a compromise. Mix, wait 30 minutes for bacteria and viruses, and give it up to four hours if Cryptosporidium is a real possibility. Cold water slows the reaction, so extend the wait when the source is near freezing. Iodine is the older option and is not effective against Crypto — skip it as a primary method, and skip it entirely if you are pregnant or have a thyroid condition.
UV light
A UV pen scrambles the DNA of everything biological in about 60–90 seconds, with no taste change at all. Two catches: it needs genuinely clear water, because particles cast shadows that pathogens hide in, and it needs working batteries. Treat it as a nice-to-have on short clear-water trips, not the only thing between you and a bad week.
Step 4 — Keep clean water clean
Plenty of people get sick from water they treated correctly, because the dirty bag touched the clean bottle. Set up a system and keep it boring:
- Dedicate containers. One bottle or bag is always dirty; the others are always clean. Mark them with tape so nobody in the group has to guess.
- Keep untreated water off the threads and the mouthpiece of clean bottles. That rim is what your lips touch.
- Wash your hands or use sanitizer before handling clean gear. In group camps, hands spread more illness than water does.
- Treated water keeps a day or two in a clean sealed bottle. Refill fresh rather than nursing week-old water in a warm pack.
- Do dishes and brush teeth with treated water too. A mouthful of untreated rinse water counts.
Step 5 — Maintain the filter so it survives the season
A filter that flows well is a filter someone looked after. Four habits cover it:
- Backflush when flow drops, not when it stops. Push clean water backward through the cartridge with the syringe or a squeeze bottle until the rate feels normal again.
- Never let it freeze wet. Blow the water out, then sleep with the filter inside your bag on cold nights. If it may have frozen with water inside, retire it and switch to boiling or drops.
- Dry it before storage. Shake out what you can and let it air dry at home, so it does not sit damp and grow mold for a month.
- Track the cartridge. Rated life assumes reasonably clean water. Silty sources cut it dramatically, and a pump cartridge you have run through desert washes is done sooner than the label suggests.
Reading water sources by terrain
Where you camp changes both the risk and the gear that makes sense.
- Alpine streams and snowfields. Low pathogen load but heavy rock flour. Settle first, filter second. Freezing overnight is the real hazard here, not bugs.
- Forested creeks below trails. The classic Giardia setting, with beaver ponds and stock crossings upstream. A standard filter is well matched.
- Desert seeps and cattle tanks. Warm, silty, often livestock-fouled. Pre-filter aggressively and pump; expect short cartridge life.
- Lakes and reservoirs. Collect off a point or an inlet where water moves, not in a stagnant shallow bay with algae mats. Skip visible blue-green algae blooms entirely — the toxins are not filterable and not boilable.
- Front-country and campground taps. Potable taps need nothing. Hand pumps and undeveloped wells are worth treating, and heavy human traffic is one of the few places viruses become a real consideration.
- International travel. Assume viruses, and plan on a purifier, drops, or boiling rather than a hollow-fiber filter alone.
Common mistakes worth avoiding
- Trusting clear water. Clarity says nothing about pathogens. Treat every natural source unless a land manager says it is potable.
- Filtering silty water straight. One murky bag can cost you most of a cartridge’s useful life.
- Letting a wet filter freeze. The damage is invisible and the filter keeps working, which is what makes it dangerous.
- Rushing chemical treatment. Twenty minutes is not thirty, and cold water needs longer, not shorter.
- Mixing clean and dirty containers. Cross-contamination beats most filters.
- Skipping the backup. Drops weigh an ounce. A clogged filter three days out weighs a lot more.
- Relying on UV in cloudy water. Particles shield pathogens from the light.
- Carrying a filter but not knowing your route’s water. Check current conditions before a dry stretch instead of trusting a map’s blue lines.
Field checklist
- Scan upstream, then collect from moving water above camps and livestock.
- Strain or settle anything cloudy.
- Run your primary method — filter, boil, drops, purifier, or UV.
- Wait out the full contact time if you are using chemicals.
- Pour into a marked clean container; keep dirty gear away from clean threads.
- Backflush the filter, blow it out, and keep it from freezing overnight.
- Plan 2–4 liters per person per day, and top off at reliable sources.
Which setup fits your trip
Most campers only need one filter and one backup. Solo and lightweight trips point to a squeeze filter with drops in the lid pocket. Families and base camps do better with a gravity system that fills while you cook. Shallow, silty, or awkward sources call for a pump. Travel outside the US and Canada, or water below heavy human use, calls for virus protection.
For specific models and current prices, our tested picks live here: best water filters for camping (start here), best gravity filters, best pump filters, and best filters for viruses.
How to filter water while camping — FAQ
Related Guides


